
Last updated November 16, 2026
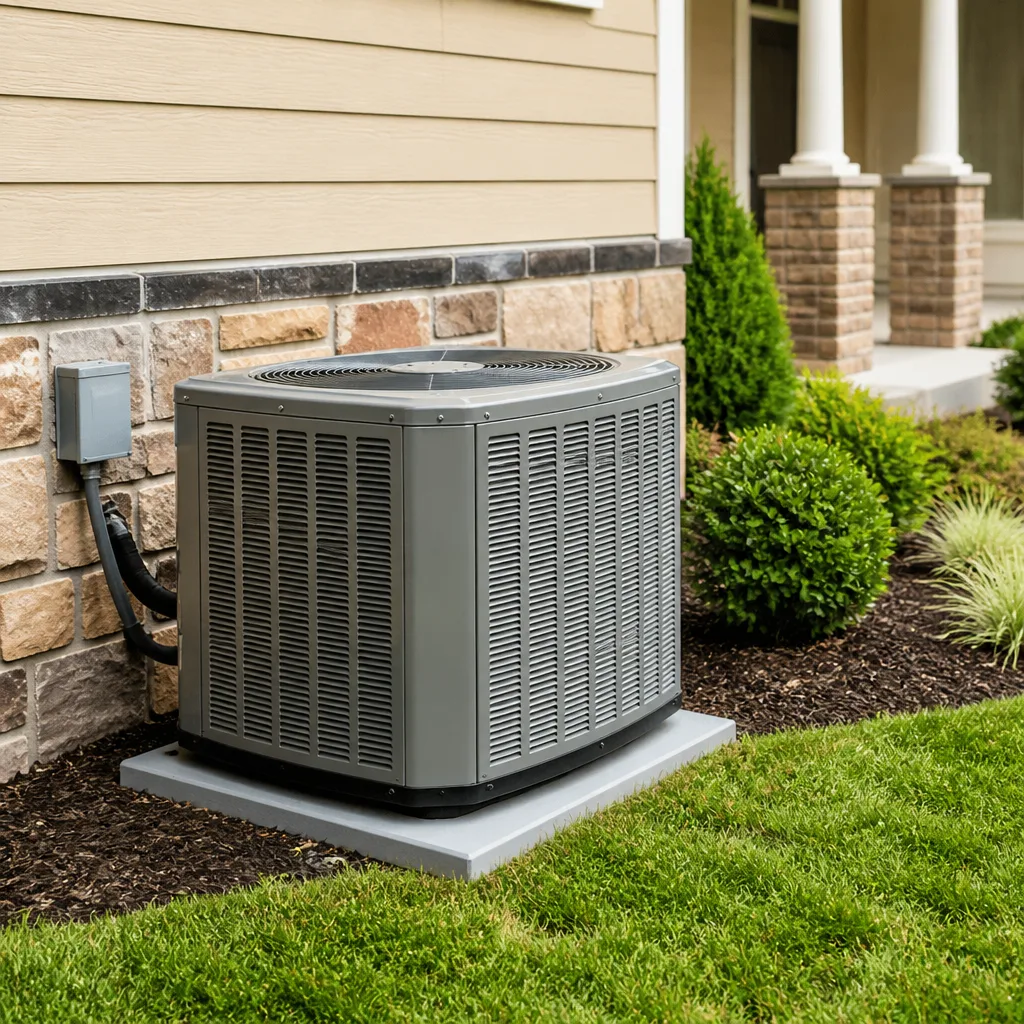 AC repair
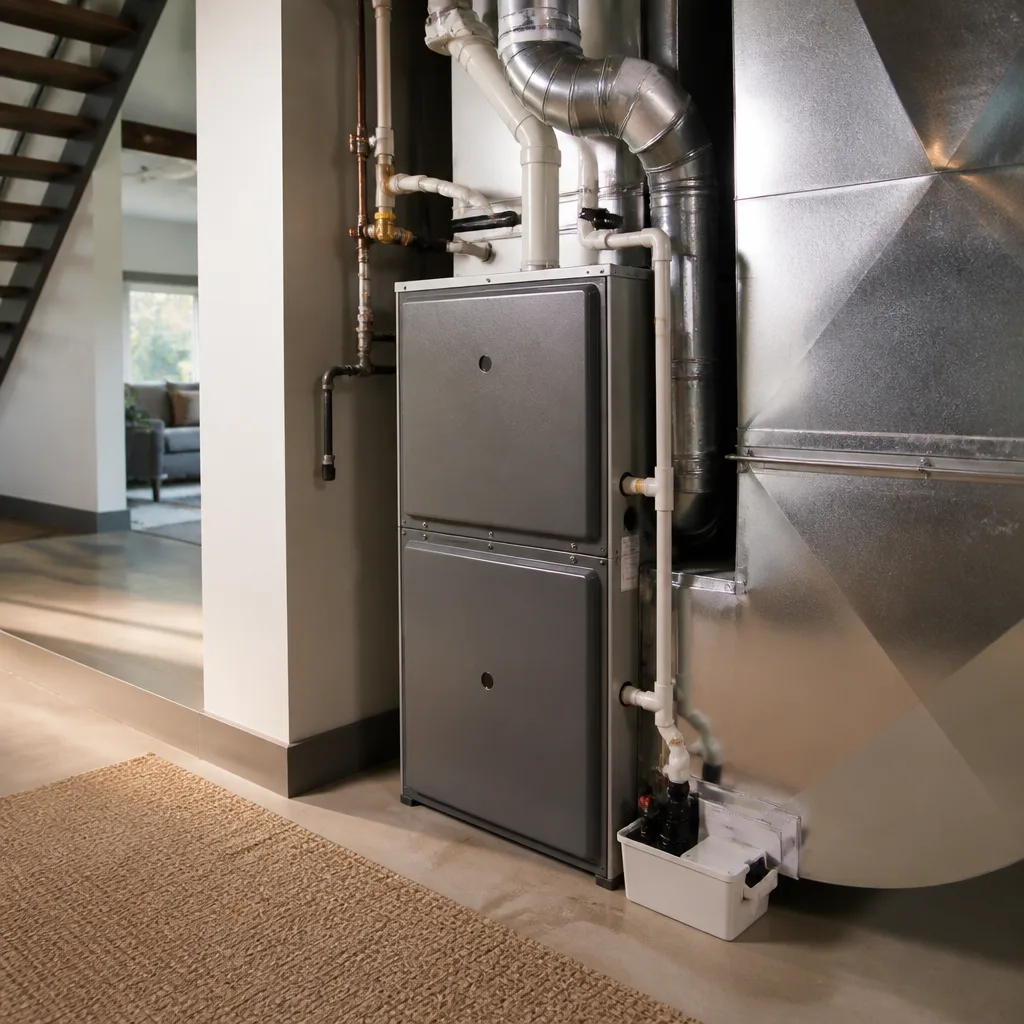 Furnace & heating
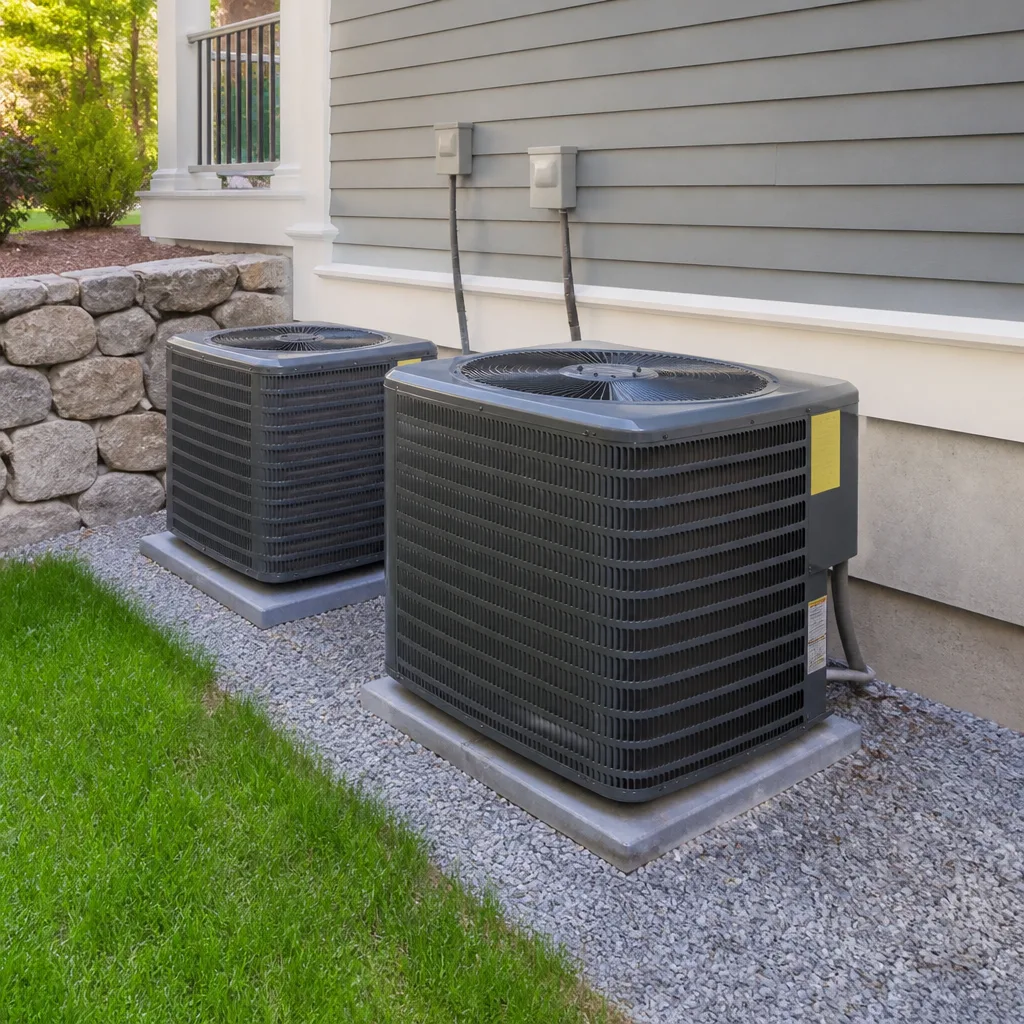 Heat pumps
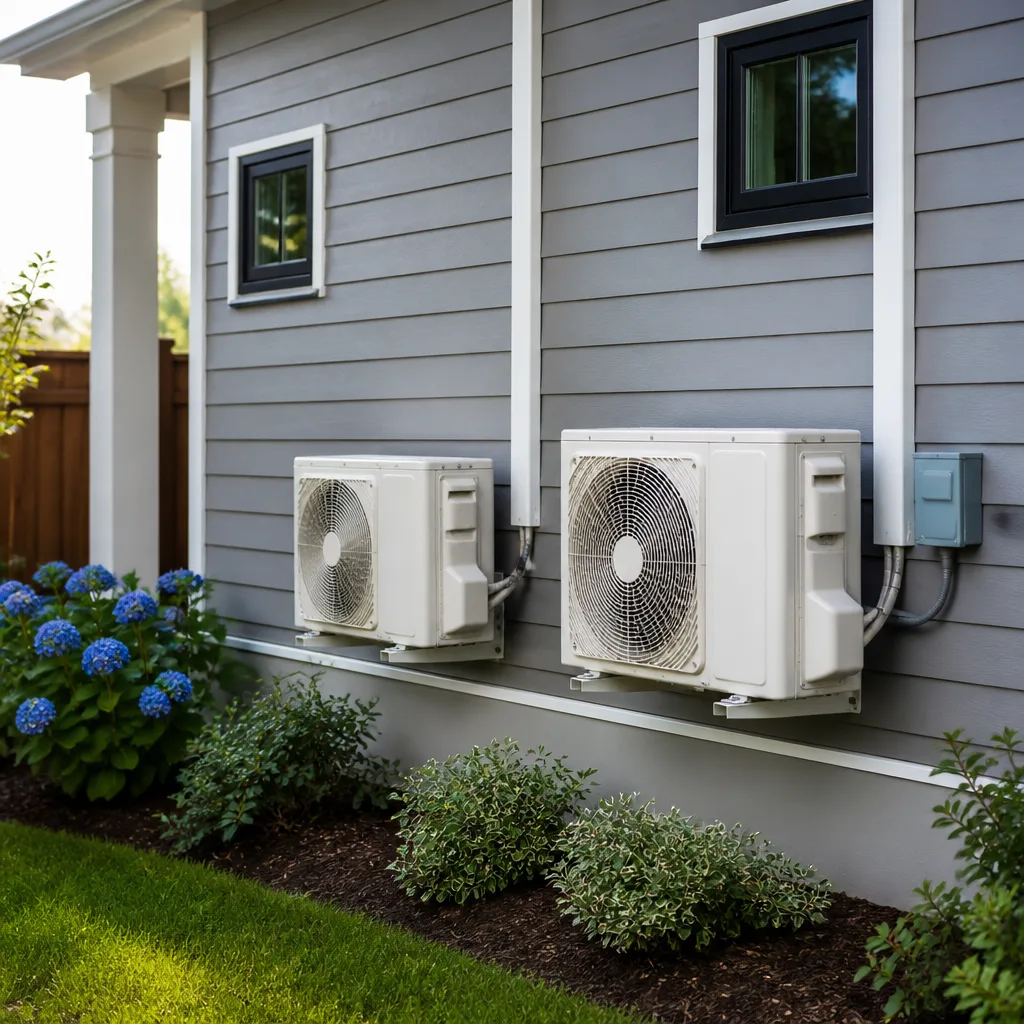 Ductless mini splits
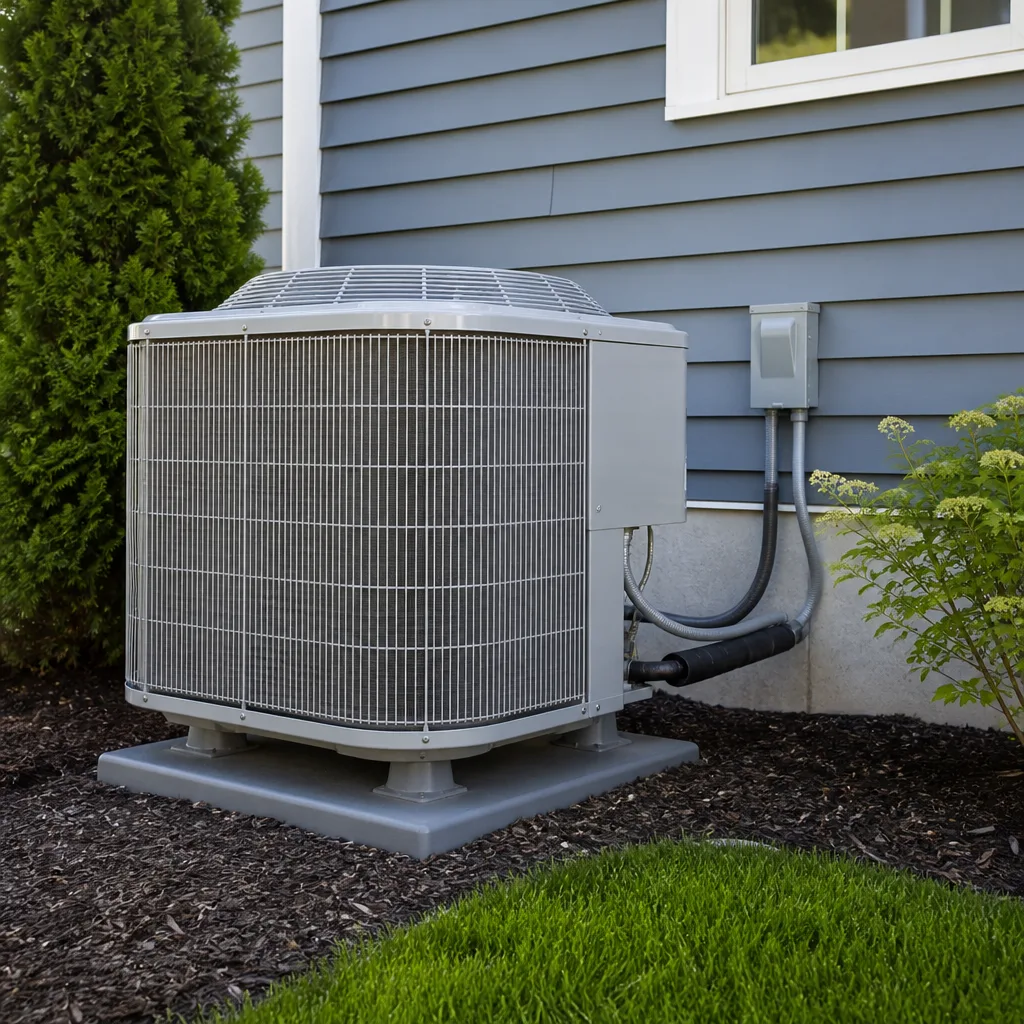 Carrier
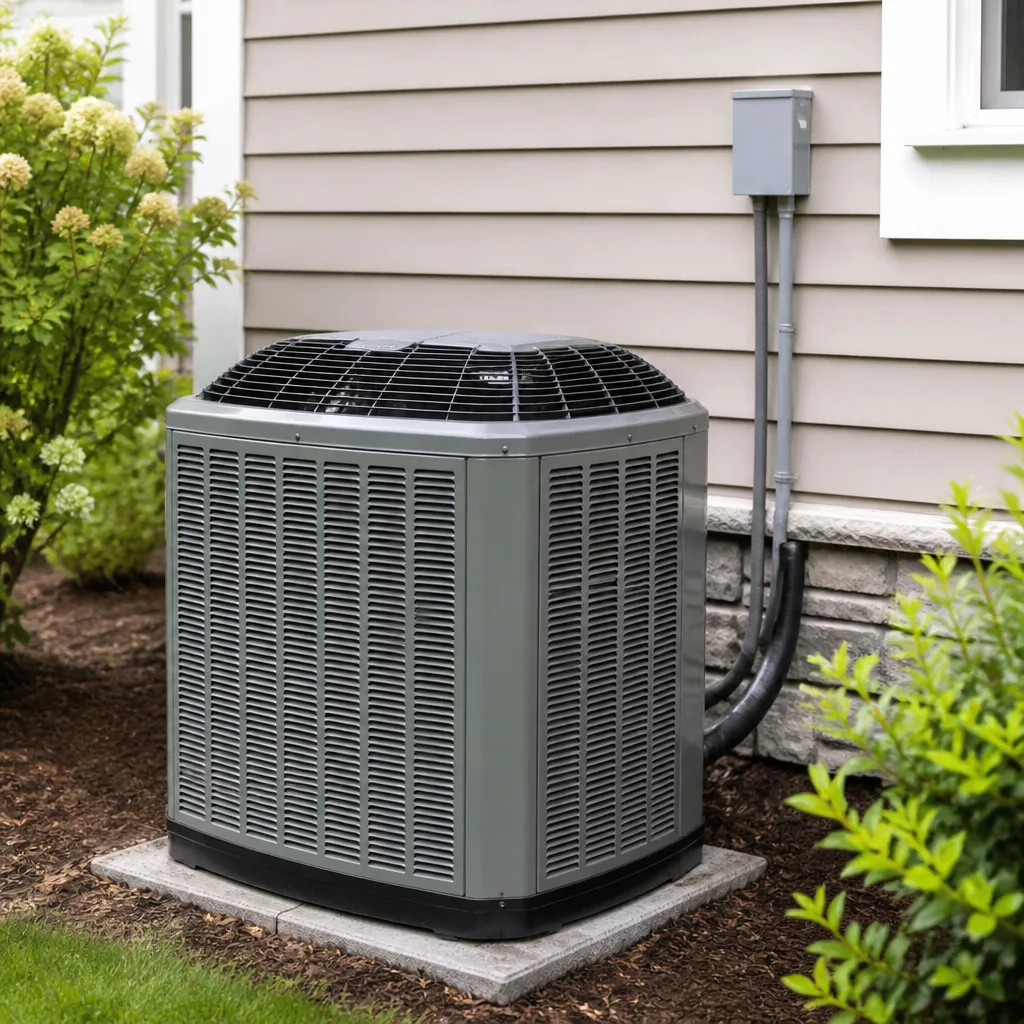 Trane
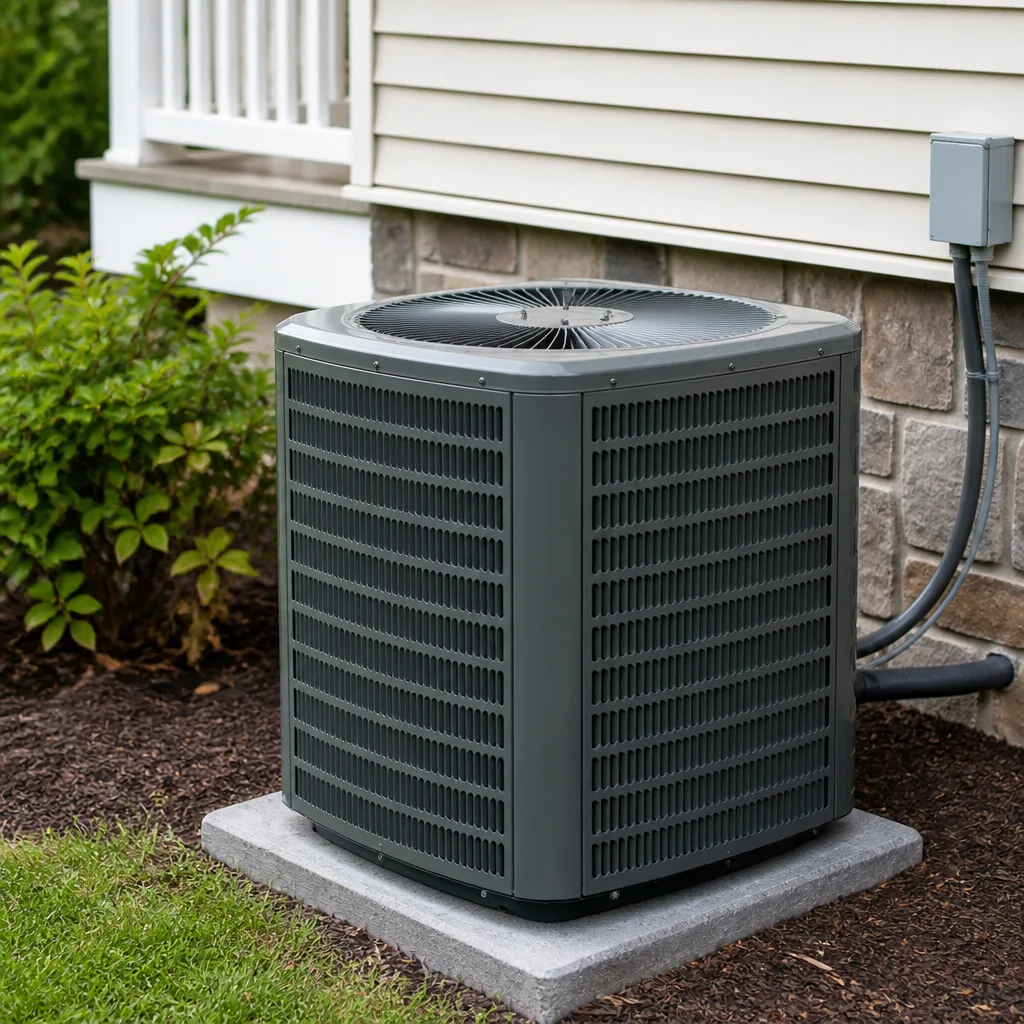 Goodman
Seasonal tune-up and full diagnostic on your Carrier, Trane, or Goodman system - readings shown to you before any repair is proposed
Diagnosis first, numbers second - you approve the repair price before a single part goes in.
Get your free estimateAC Installation Maintenance Checklist for Inglewood Homeowners
The most expensive AC mistakes in Inglewood don’t happen during installation. They happen in the two seasons after, when homeowners assume a new unit means no attention is needed and skip the checks that would have caught early refrigerant seepage or duct pressure imbalances. A brand-new system is at its most informative in its first year: every reading you log becomes a baseline you can compare against for the next decade. This guide walks you through the 30-day, 90-day and first-summer checkpoints that turn the period after installation into a systematic protection plan, plus the one thermostat test you can run yourself to flag a problem before it becomes a warranty argument. What follows is the checklist we wish every Inglewood homeowner had on the fridge the day the install crew packed up.
Quick Answer
A new AC installation isn’t finished when the technician leaves. Run three checkpoints over your first year: a 30-day walk-around and filter change, a 90-day performance reading and coil inspection, and a first-summer full review of refrigerant charge, airflow and duct balance. Log the numbers each time so you have a baseline. If any reading drifts, you catch it while the system is still under warranty and while the original installer can still correct it. That’s the entire protection plan: consistent, dated readings, not guesswork.
Styles & brands we work with
- AC repair
- Furnace & heating
- Heat pumps
- Ductless mini splits
- Carrier
- Trane
- Goodman
Table of Contents
- Why the First 90 Days Matter More Than the Install Itself
- The 30-Day Checkpoint: What to Log and What to Look For
- The 90-Day Checkpoint: Performance Readings and Coil Inspection
- Your First Summer: The Full System Review
- How to Tell if Your Unit Was Oversized After the Fact
- What a Properly Commissioned Refrigerant Charge Looks and Feels Like
- Filter Schedules Adjusted for Inglewood’s Particulate Environment
- Coil Cleaning Timing in Inglewood’s Marine-Influenced Humidity
Why the First 90 Days Matter More Than the Install Itself
Installation sets the ceiling on how well your system can perform. What happens in the first 90 days determines whether it actually reaches that ceiling. A brand-new Carrier or Trane system is a collection of components that need to settle into a working relationship: refrigerant has to hold its charge, ducts have to prove they distribute air evenly, the condensate line has to drain without backing up, and the thermostat has to talk to the air handler without hiccups. Most of the problems that show up in year three were quietly present in week three. Catching them early is the whole game.
There’s a warranty angle here that doesn’t get talked about enough. Manufacturer warranties cover defects, but they don’t cover the labor to diagnose a problem that was there from day one and only got reported in year two. If you’ve logged readings at 30 and 90 days showing a slow refrigerant drift, you have a paper trail. If you haven’t, you’re relying on memory. In Inglewood, where summer heat and marine-layer humidity both work on the system, the difference between catching something in week four versus month fourteen is often the difference between a quick fix and a bigger repair.
Three factors make the early window uniquely valuable:
- The system is under the original installer’s workmanship warranty. Issues traced to installation are still their responsibility. Once that window closes, it’s yours.
- Equipment defects show up fast. A failing capacitor, a sticking contactor, a leaking Schrader valve – these surface in weeks, not years.
- You’re building your baseline. Every temperature reading, every airflow measurement, every humidity level you log becomes the reference point you’ll compare against for the life of the equipment.
Treat the first 90 days as an active maintenance window, not a waiting period. The homeowners who do this are the ones who end up with systems that hit their rated efficiency and stay there.
The 30-Day Checkpoint: What to Log and What to Look For
The 30-day checkpoint is a walk-around, a filter change, and a set of observations. It takes about an hour and doesn’t require tools beyond a thermometer and a notebook (or a notes app). The point is to confirm the system has settled in and to catch the obvious issues before they compound. Do it on a day when the unit is running normally, not in the middle of a heat wave.
Here’s the sequence we recommend:
- Change the filter. New installs often come with a basic filter that’s already loaded with construction dust. Swap it for a fresh one and write the date on the frame. This single habit prevents more problems than anything else on this list.
- Measure the temperature split. Put a thermometer in the return vent (or just inside the intake) and another at the nearest supply vent. Run the system for 15 minutes, then read both. A properly working system in Inglewood typically shows a 15 to 20 degree difference between return and supply. Log the number.
- Check the condensate drain. Look for water pooling near the indoor unit or air handler. A slow drain line or a loose fitting shows up in week two or three.
- Listen at the outdoor unit. With the system running, stand near the compressor. You should hear a steady hum and fan noise. Grinding, clicking, or a rattle that comes and goes is worth a call.
- Feel the airflow. Walk to every room with a supply vent. Airflow should feel roughly equal in each. A room that’s noticeably weaker points to a duct balance issue.
- Note the thermostat behavior. Does the system reach the set temperature and hold it? Or does it struggle to keep up? Write it down with the outdoor temperature that day.
Log all of these in one place with the date. That’s your baseline. If your 90-day reading shows the temperature split dropped a couple of degrees, you’ll know it. If airflow in the back bedroom feels weaker than it did a month ago, you’ll catch it early.
The 90-Day Checkpoint: Performance Readings and Coil Inspection
The 90-day check is where you start looking at the components that live behind the panels. You don’t need to open anything yourself – that’s not what this checkpoint is for. What you’re doing is gathering the readings that tell you whether a technician visit is warranted, and observing the parts of the system you can see safely from outside.
Start with the same measurements you took at 30 days: temperature split, airflow feel, filter condition. Compare the numbers. Here’s what the comparison tells you:
- Temperature split holding steady: the refrigerant charge and the air path are both working as designed.
- Split dropped by 3 or more degrees: this is the earliest sign of low refrigerant, a dirty coil, or a duct leak. Not urgent, but worth a diagnostic.
- Airflow weaker in one or more rooms: points to a duct imbalance or a damper that wasn’t set right.
- Filter dirty within 90 days: tells you the replacement interval needs to be shorter than you thought. Adjust.
For the coil inspection, look at the indoor evaporator coil through any accessible panel (many systems give you a peek without removing fasteners). You’re looking for dust buildup, standing water, or ice. Ice on the coil is the clearest sign of a charge or airflow problem and should trigger a call immediately. For the outdoor condenser coil, look at the fins – you’re checking for debris, pet hair, or cottonwood-style fluff. A soft brush can clear surface debris from the outside; anything deeper should go to a technician.
This is also the checkpoint to verify the operation of the condensate pump (if you have one) and to confirm the thermostat’s programming matches your actual schedule. If you want the deeper diagnostics – static pressure readings, superheat and subcooling measurements – that’s a good time to schedule AC installation follow-up work with the original installer or a technician, since those readings tell you exactly how the system is performing against spec.
Your First Summer: The Full System Review
Your first Inglewood summer is the real test. Winter and spring are mild – the system mostly idles. Summer heat pushes it into steady operation, and that’s when the readings finally mean something. The first-summer review is the deepest checkpoint of the year: it’s when you compare the system’s actual performance against the load calculation it was sized for, and when you’ll catch anything the 30-day and 90-day checks missed.
Run this review in late spring, before the first real heat wave. You want the system working through its paces while a technician can still be scheduled without waiting. The sequence:
- Log a full day of operation. Set the thermostat to your normal comfort temperature and record the outdoor temperature, the indoor temperature at morning, midday, and evening, and how long the system runs during the hottest part of the day.
- Target the runtime. On a hot afternoon, a properly sized system should run steadily for long cycles, not short bursts. Short cycling (on for five minutes, off for five) is a red flag – it usually points to oversizing.
- Walk the humidity. A humidity gauge is cheap and worth having. Inglewood’s marine-influenced air can push indoor humidity high even when the AC is running. If you’re seeing indoor humidity consistently above 60% with the system on, the coil may not be pulling enough moisture – which points back to charge, airflow, or coil condition.
- Check the temperature split again. Same method as the 30-day check. Steady at 15 to 20 degrees is good. Below 15 means something’s off.
- Inspect the outdoor unit’s surroundings. Two feet of clearance on all sides. Trim any vegetation, clear any stored items. A restricted condenser airflow eats efficiency.
- Review your filter log. By now you should know your actual replacement interval for your specific system and household. Write it on the thermostat or near the return vent.
If everything reads normal, you’ve done the review. If anything reads off, that’s the data to bring to a technician – specific numbers get a specific diagnosis. If you’re already seeing problems and want a repair call, our team handles AC repair Inglewood and can read the same numbers you logged.
How to Tell if Your Unit Was Oversized After the Fact
An oversized AC is the most common installation problem we see, and it doesn’t announce itself on install day. It shows up in weeks: short cycling, inconsistent temperatures, and high indoor humidity even when the air is cool. The reason an oversized unit causes these problems is simple. A properly sized system runs in long cycles, pulling air through the coil slowly enough to remove moisture and distribute conditioned air evenly. An oversized unit cools the air fast, shuts off before it removes moisture, and then waits for the thermostat to trip again. The house feels cool but clammy, and the system wears itself out on the starts.
Here’s how to tell after the fact:
- Short cycling. On a hot Inglewood day, if the system runs for less than 10 minutes at a time and then rests, that’s a signal. A proper run cycle is often 20 to 30 minutes or longer.
- Humidity stays high. Indoor humidity above 60% during summer operation is a classic oversized-unit symptom. The cool air is there but the moisture isn’t being pulled out.
- Cold and hot spots. One room is freezing, another is warm. An oversized unit blasts air fast, which creates stratification instead of even distribution.
- The thermostat swings. The house overshoots the set temperature and then dips below it in a repeating cycle.
- Loud startup and stop. The larger equipment that comes with a bigger tonnage is audibly louder at start and stop, and you hear it in the ducts.
To verify sizing, find the load calculation your installer should have produced. A proper install includes a Manual J load calculation that matches the unit’s tonnage to the home’s actual heat gain. If you don’t have it, ask. If the installer can’t produce one, that’s worth knowing. Our technicians have up to 10 years of experience and can run a follow-up load check to confirm sizing. If the system turns out to be oversized, you have options – from thermostat reprogramming to reduce cycling behavior, to a conversation with the installer – but you’ll only get there if you catch it in the first season.
What a Properly Commissioned Refrigerant Charge Looks and Feels Like
A well-commissioned refrigerant charge is invisible when it’s right. You don’t feel it as a strong blast of cold; you feel it as steady, consistent cooling with low humidity and a system that runs in long, even cycles. On a properly charged system, the indoor temperature sits within a degree of your setpoint, the outdoor unit hums, and the air from the vents feels cool and dry rather than clammy. It’s unspectacular, which is the point.
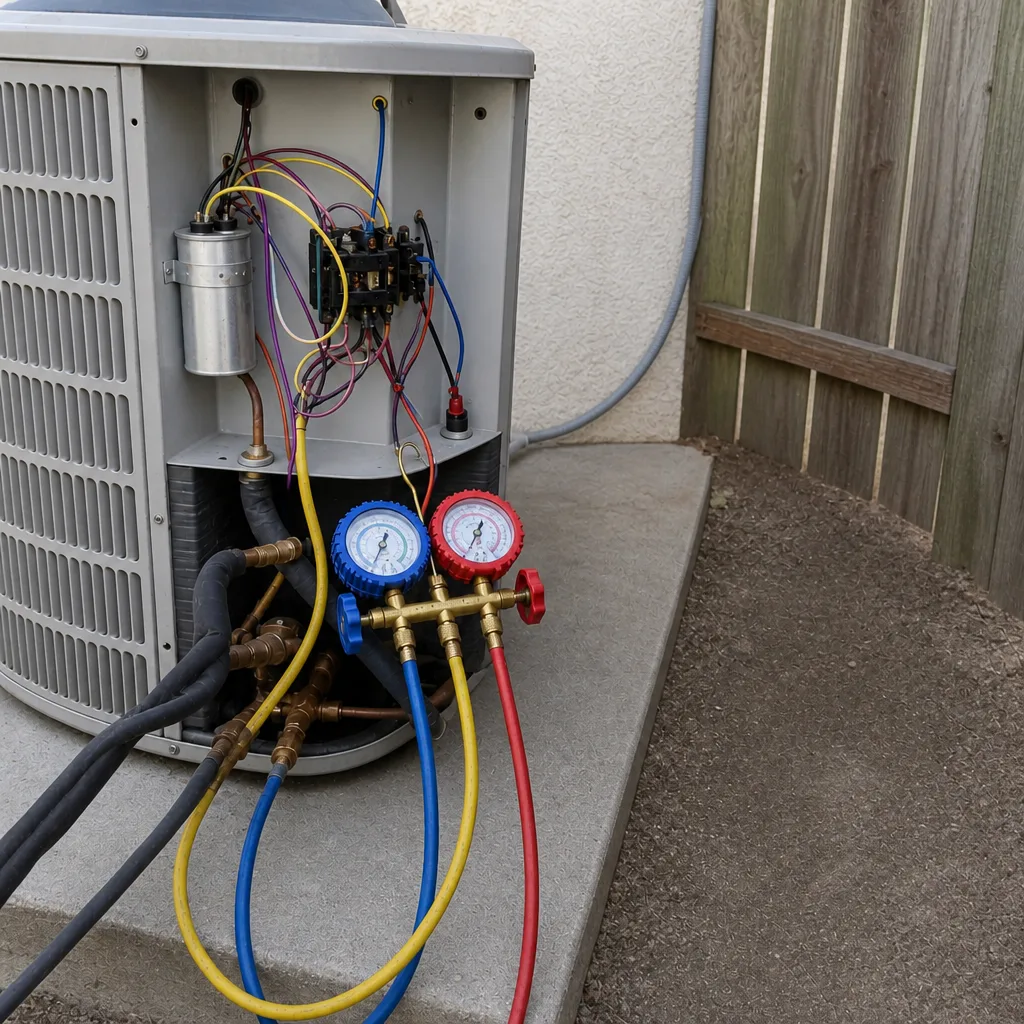
What you can’t see is the pressure reading. A properly charged system has the correct superheat and subcooling values – measurements a technician takes at the service ports. Those readings confirm the system has the right amount of refrigerant for its actual operating conditions, not just “enough to cool.” An overcharged system and an undercharged system can both produce cool air while wearing out the compressor.
The one test you can run yourself is the thermostat test, and it’s simple:
- Pick a steady day, mid-afternoon. Note the outdoor temperature.
- Set the thermostat 5 degrees below the current indoor temperature. Note the time.
- Record when the system first reaches the new setpoint. A properly charged system in a normally-insulated Inglewood home will typically hit a 5-degree drop in 20 to 30 minutes.
- Record the temperature split (return air versus supply air). Between 15 and 20 degrees is normal. Below 15 suggests the charge or airflow is off. Above 22 suggests airflow is too low.
- Repeat the test on the same day, next month. Compare the numbers. Consistency is the signal.
What you’ll feel if the charge is off: cool but clammy air, longer and longer run times, and eventually a system that can’t keep up. If that’s what you’re seeing, a technician needs to read the pressures. For furnace repair calls we treat the heating side the same way – measure first, diagnose accurately, then quote.
Filter Schedules Adjusted for Inglewood’s Particulate Environment
Inglewood sits in a particulate-heavy environment, and the standard manufacturer filter schedule won’t always match what your home actually needs. Two forces drive this. First, the LAX corridor and surrounding traffic generate fine dust and exhaust particulate that finds its way into return air. Second, the seasonal Santa Ana winds push fine dry dust and debris across the region, loading filters faster during those windows. A filter that lasts three months in a cleaner area may need changing every six to eight weeks here.
Here’s a practical schedule we recommend for Inglewood homeowners:
- Standard 1-inch filters: every 30 to 45 days during heavy-use months, every 60 to 90 days in shoulder seasons. During Santa Ana winds, check weekly.
- Pleated 1-inch filters: same interval, but consider upgrading to a higher MERV if you have allergies or pets. Higher MERV filters load faster – check monthly.
- 4- or 5-inch media filters: every 6 to 12 months under normal conditions, more often if you’re in a high-traffic corridor.
- Washable filters: rinse every 30 days, dry fully before reinstalling. Never reinstall damp.
Practical filter habits that matter more than the schedule itself:
- Write the install date on the filter frame. You’ll never wonder again.
- Replace before the summer push so the system starts the heavy season clean.
- Check after any wind event – Santa Anas in particular – because the outdoor unit’s coil picks up the same dust.
- Don’t stack higher MERV than your system can handle. A filter too restrictive for the blower starves airflow. If you want better filtration, ask a technician to check static pressure before you upgrade.
Paired with a proper filter habit, a new Carrier, Lennox, Goodman, or Trane system will hold its efficiency far longer. Skipping filters is the single fastest way to undo a good install.
Coil Cleaning Timing in Inglewood’s Marine-Influenced Humidity
The evaporator coil is where cooling happens, and in Inglewood it works in an environment that accelerates buildup. Marine-influenced humidity means the coil stays wet longer after each cycle than it would in drier inland areas. Wet coils attract and hold dust, and if that dust isn’t cleared, it creates a film that insulates the coil, reduces its heat transfer, and eventually hosts biological growth. The result: a system that has to run longer to do the same job, and air that starts to smell stale.
Two coils matter, and they need different timing:
- Indoor evaporator coil: first inspection at your 90-day checkpoint. Clean it at the one-year mark if there’s any visible buildup. After that, once per year unless your filter schedule is off – in which case, sooner.
- Outdoor condenser coil: inspect quarterly. Clear surface debris (leaves, fluff, pet hair) with a soft brush or garden hose on low pressure. Deeper cleaning by a technician once per year, before summer.
Signs the coil needs cleaning before the schedule says so:
- Reduced cooling. The system is running but not hitting setpoint.
- Musty smell when the system starts up.
- Ice on the indoor coil – stop running the system and call for service.
- Higher than expected energy use compared to last month at similar temperatures.
- Visible debris on the outdoor coil fins.
Inglewood’s climate is mild enough that a well-maintained system should hold peak performance for years. But the humidity cycle that makes the area comfortable also accelerates coil buildup if the maintenance isn’t there. Coil cleaning is one of the most cost-effective maintenance line items you can budget for.
Common Mistakes to Avoid
- Skipping the 30-day check because the system “seems fine.” The 30-day check is where baseline numbers get logged. Skip it and you have nothing to compare against when something drifts at month six.
- Running a restrictive high-MERV filter in a system not rated for it. Better filtration sounds good until the blower is starved and the coil freezes. Match the filter to the system, not to a label.
- Ignoring humidity. Cool air is not the same as comfortable air. Indoor humidity above 60% during operation is a sign something’s off, even if the temperature is right.
- Assuming the installer’s commission is the final word. Standard installers do a commissioning check, but the readings only mean something in comparison. Log your own numbers so you can confirm.
- Not checking the outdoor unit’s clearance. A condenser with leaves packed against it or shrubs growing into it works harder and cools less. Clear the space.
- Clogging the condensate drain and not noticing. In Inglewood’s humidity cycle, a slow-draining line shows up as water pooling or a musty smell. Check it at every filter change.
- Waiting for a “real” problem before calling. A drifting temperature split is not a “real” problem yet – but it will be. The whole point of the first-year checkpoints is catching things before they’re real problems.
See the difference
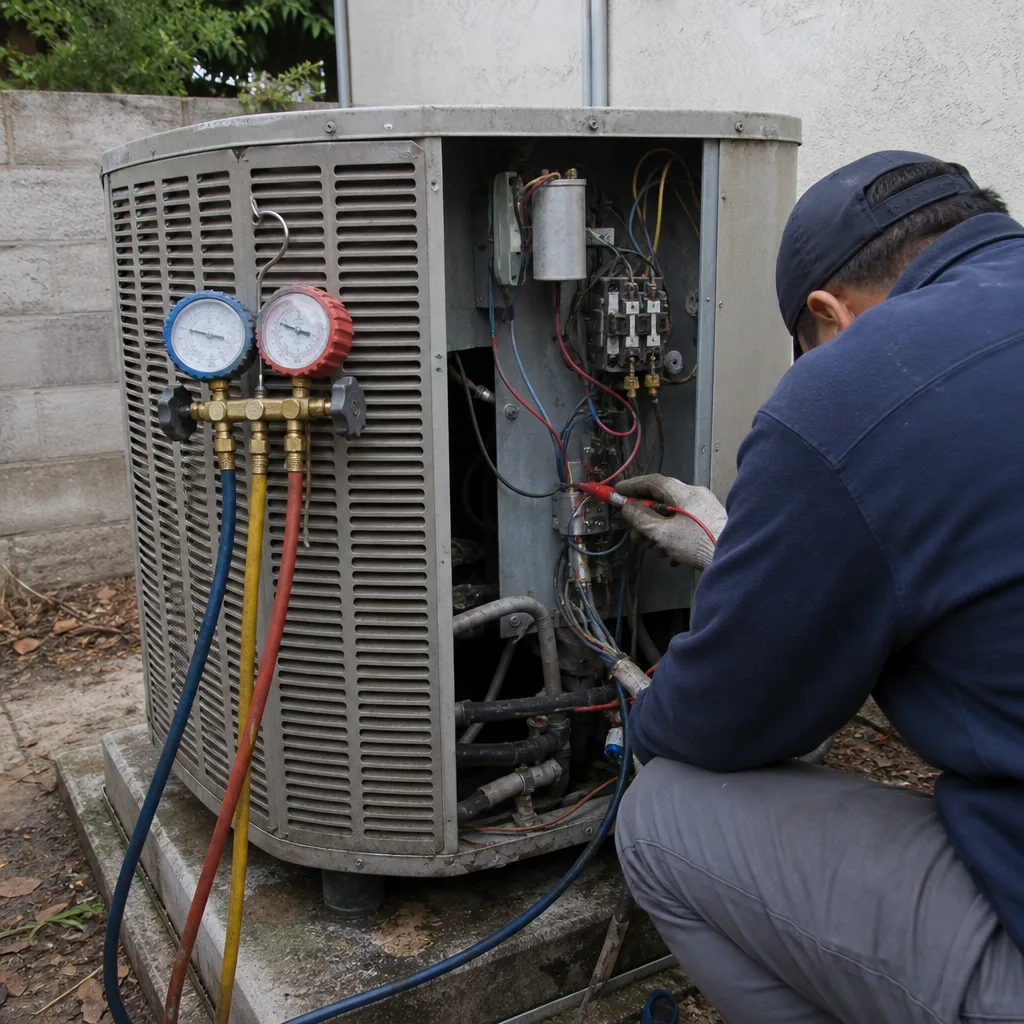 Before
 After
 Before
 After
 Before
 After
When to Call a Professional
Some things in the first year need a technician, not a notebook. Call us when the temperature split drops by 3 degrees or more across two consecutive readings, when the indoor coil ices up, when the outdoor unit makes grinding or clicking sounds, when the system short cycles on a hot day, when indoor humidity stays above 60% with the system running, or when any part of the system leaks water. Also call if you can’t find the load calculation from your installer, or if the sizing numbers don’t match what you’re seeing in the first summer. Our technicians have up to 10 years of experience across nine major brands – Carrier, Trane, Lennox, Goodman, Rheem, York, Daikin, Bryant, and American Standard – so if your equipment is already installed, we work on your brand. AC Repair Inglewood offers free estimates in Inglewood – call (866) 942-9087. We answer 24/7. Fast dispatch from 7am to 7pm, Sunday through Friday.
Frequently Asked Questions
Schedule the first professional maintenance visit at the one-year mark after install, or sooner if your 30-day or 90-day checkpoint showed any drift. Your own checkpoints at 30, 90 and first-summer cover the early months; the one-year professional visit confirms the system is holding its commissioned performance. Call (866) 942-9087 for an exact quote on a follow-up visit – estimates are free.
Watch the run cycle during the first summer. A properly sized unit runs in long cycles (20 to 30 minutes or more on a hot day) and holds indoor humidity below 60%. Short cycling, cold spots, and clammy air within weeks of install are all signs of oversizing. Ask your installer for the Manual J load calculation – a correct install includes one. If it’s missing or the numbers look off, our technicians can run a follow-up sizing check.
Cool-but-clammy usually means the system isn’t running long enough to remove moisture, or the coil isn’t transferring heat properly. Common causes are an oversized unit, a low refrigerant charge, or a dirty evaporator coil. Inglewood’s marine-influenced humidity makes moisture removal a key part of comfort – a system that cools but won’t dehumidify is worth a diagnostic.
For a standard 1-inch filter, every 30 to 45 days during heavy-use months and every 60 to 90 days in shoulder seasons. Inglewood’s LAX corridor dust and seasonal Santa Ana winds load filters faster than the manufacturer’s schedule assumes. During wind events, check the filter weekly. Write the date on the frame every time you change it so you’re not guessing.
A properly working system typically shows a 15 to 20 degree difference between return air and supply air. Below 15 degrees suggests a problem with charge, airflow or coil condition. Above 22 degrees suggests airflow is too low. Take the reading after 15 minutes of steady running and log it with the outdoor temperature. If the split is outside the range, a technician needs to read the refrigerant pressures.
You can clear surface debris from the outdoor condenser coil with a soft brush or a low-pressure garden hose. The indoor evaporator coil needs a technician – those panels shouldn’t be opened by a homeowner, and the coil sits in a confined space where refrigerant lines are exposed. For any deeper cleaning or coil inspection after install, book a technician. Call (866) 942-9087 for a free estimate.
The Bottom Line
A new AC isn’t finished when the install crew leaves. The first 90 days, and the first full summer after that, are the active maintenance window: 30-day baseline readings, 90-day performance comparison, first-summer full review. Log the numbers. Watch the humidity. Change the filter on an Inglewood-adjusted schedule. Clear the outdoor coil before summer. And know the signs of oversizing so you can catch a sizing problem while the installer can still fix it. None of this takes much time, and all of it protects the investment. The system is under warranty; the discipline is yours. That’s the protection plan.
If your first-year checkpoints turned up something, or you’re not sure what a reading means, our team can read your numbers and tell you what the system needs. Call (866) 942-9087 for a free estimate. We answer 24/7. Fast dispatch from 7am to 7pm, Sunday through Friday.
Written by the team at AC Repair Inglewood.